Sunday, August 4, 2013

Cooking Basics - Stocks

Ever wonder what the difference between stock and broth is? The answer is.. Bones! Stock is made using bones only. A few flecks of meat here and there won't change it, but primarily bones. Broth is made using both bones and meat, or sometimes just meat.

The base to a great sauce starts at the stock you use. Making your own stock is by far much better than buying store bought. First of all, you control the quality of ingredients. You know what is going in it and therefore can adjust it to your cooking needs. Also, Flavor! Store bought tastes like chicken flavored water. Homemade has a much richer and flavorful taste.

Brown Stock means that you brown the bones before making the stock and obviously it will be a rich brown color. Now, if you are planning on making a nice white sauce where the light color is important, you will want to use White Chicken Stock. When making that, the process is the same, however, you won't brown the bones.

There are some key things to remember when making stock:

  • Only start with and add cold water. If you add hot or warm water, the proteins will coagulate and cause your finished stock to be cloudy and muddy. 
  • As it is simmering, strain the top regularly to get out the scum that forms on top. 
  • Do not boil! Let it simmer nice and slow. If it boils, the scum will get churned into the stock and taste greasy and muddy.
  • Don't add salt. Because the salt concentration level will be different when you are finished, there is a chance it may be too salty. You can always ADD salt, but you can't REMOVE it. Also, you can adjust seasonings when adding it to your dish.
  • Once the stock has cooked, cool it down as quickly as possible. I try to freeze 2 liter pop bottles full of water and place them in the finished stock as the whole pot sits in an ice bath. Once it is cool enough, I pour it in large containers and cool overnight. The fat will rise to the top, harden, and can then be scraped off. 
Portion stock out in desired containers and freeze for later use. I use quart containers and 4 oz containers. Since I usually use a little or a lot of stock.

Thursday, May 30, 2013

Cast Iron Chef Challenge 2013

Not too long ago was the 2nd Annual Duran's Down Home Days. If you weren't there, you really missed a spectacular event! You better be there next year! There were many vendors and crafters, chances to win prizes, and all of it supports Kanzius Cancer Research. Many people work VERY hard to organize this event and need you to come out next year to make it bigger.

One event that was held was the Cast Iron Chef Challenge. I am proud to say I participated in this event. I formed a team that consisted of Me, my wife Nahtanha, My friend from Culinary School, Molly, and her husband, Josh. It was so much fun! We had never participated in any kind of competition. The only kind of cast iron cooking I've done, has been on my gas stove top. Never have I used coals with cast iron. So this was all unfamiliar territory. For those of you who have never used coals to bake in a dutch oven, it is extremely hard. Trying to keep it at a constant temperature.. not so easy. But we did the best we could.

I thought I'd take you on the journey we went through from start to overtime!

Saturday
     On Saturday morning, we arrived at the Waterford Community Fairgrounds and were welcomed by a lady with a clip board who was directing people where to go. The only 2 spots left were #1 and #4 I believe. I picked spot #1. We unpacked all our gear and set up. I converted a gas grill into our cooking station earlier in the week and got that all set up.

Our Table
Our Kitchen
Part 1 of the Team: Nahtanha and Me
Part 2 of the Team: Molly and Josh
Day 1 Menu

There were 4 dishes to be turned in. The first 2 on Saturday and then 2 on Sunday. Our times to turn our dishes in were Noon and 4:50pm. We also got a secret ingredient for each dish that we had to turn in. Our first secret ingredient was Sweet Corn. We decided to try and make a Corn and Pepper Soup. The store didn't have any Poblano Peppers, so we went with Jalapenos. We fire roasted the peppers, sauteed some onions and corn. Then added chicken stock and the peppers and pureed it until it was the consistency we wanted it and added cream.
Corn and Pepper Soup that we turned in to the judges
We had a little extra time, so we decided to make an extra little corn dish where we sauteed it with peppers, onions, balsamic vinegar and a little brown sugar.
Balsamic Corn Saute

The next dish wasn't due until 4:50pm. It was the Protein Category. The secret ingredient was bone-in chicken. We knew that we wanted to do a braised chicken as it would be the best chance for it to come out tender and juicy. We made Box Office Chicken. It was a garlic and wine braised chicken. We dredged it in flour, browned it, removed it, sauteed a few onions and cloves of garlic from 2 whole bulbs. When those were browned, we added a whole bottle of white cooking wine and added the chicken back to the dutch oven on top of all the garlic. We braised it in the dutch oven until about 15 minutes before it was time to serve. The flour from the chicken thickened up the liquid and juices and made a tasty sauce. I toasted 5 pieces of batard bread and served the chicken on top. The chicken was shredded as it was falling off the bone upon removal.
Chicken cooking in the dutch oven.

Chicken dish ready for judges.

With the first day over, we could now think about Sunday. Getting the first day out of the way and getting the nervousness gone was key. Sunday would be a more confident day. Our first dish for this day, wasn't due until 1:40pm. It was the Wild Card Category. The secret ingredient was... Spam! What in the world do you do with Spam? Make Spam Doughnut of course! We made a Spam Doughnut that was fried in oil in the cast iron skillet. It was then rolled in cinnamon sugar, drizzled with Maple Glaze, topped with a crispy piece of Spam, and then dusted with powdered sugar.

Frying the doughnuts

The Doughnuts prior to the cinnamon sugar.

Doughnuts done and ready to turn into the judges.

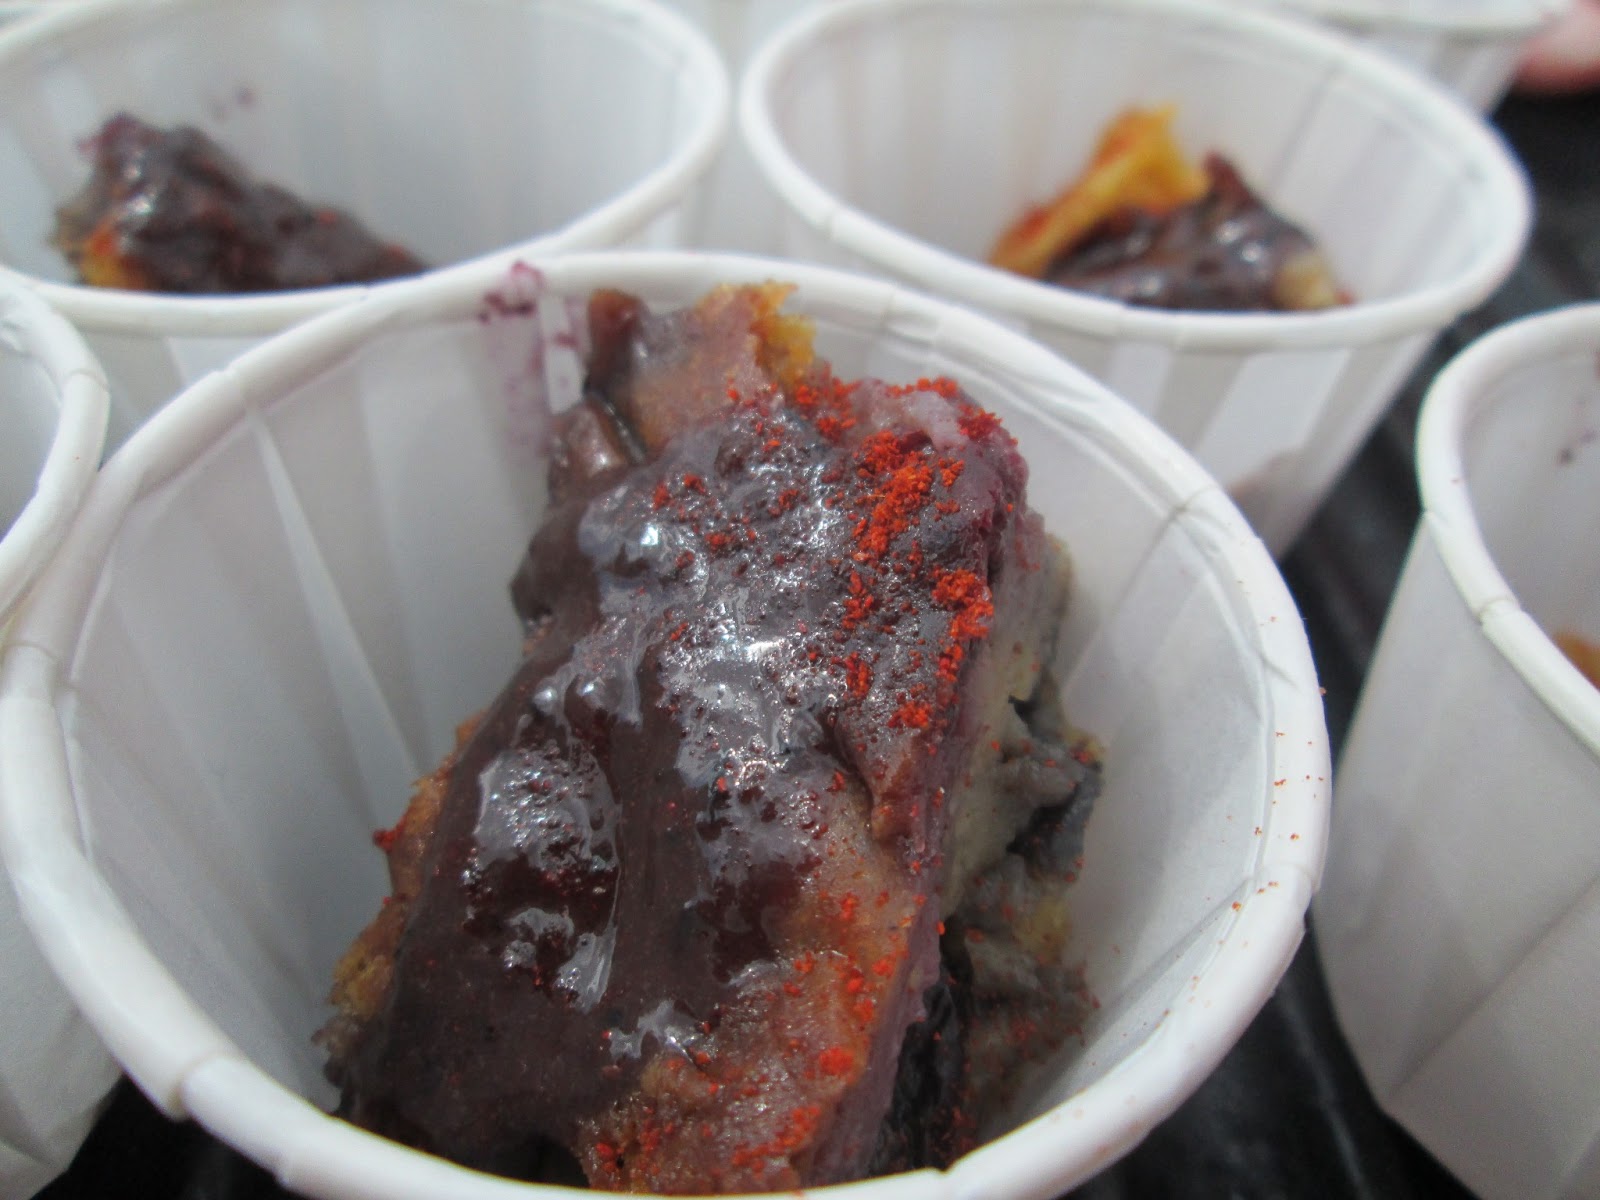
Lastly, it was time for the Fruit Round. The secret ingredient was Blueberries. We made a blueberry pound cake in the dutch oven. It was definitely tricky trying to keep the dutch oven at a constant temperature. But all in all, the pound cake turned out perfect. We made a blueberry chocolate fondue sauce. We decided to drizzle it on the cake rather than use the fondue pot as the cake was so moist, it may have fallen off the skewers. So it ended up being Blueberry Pound Cake with a Blueberry Chocolate Sauce with a dash of Paprika. You couldn't exactly the paprika, but it seemed to help cut some of the bitterness from the chocolate. It turned out great.

Blueberry Pound Cake

Samples for the Judges!

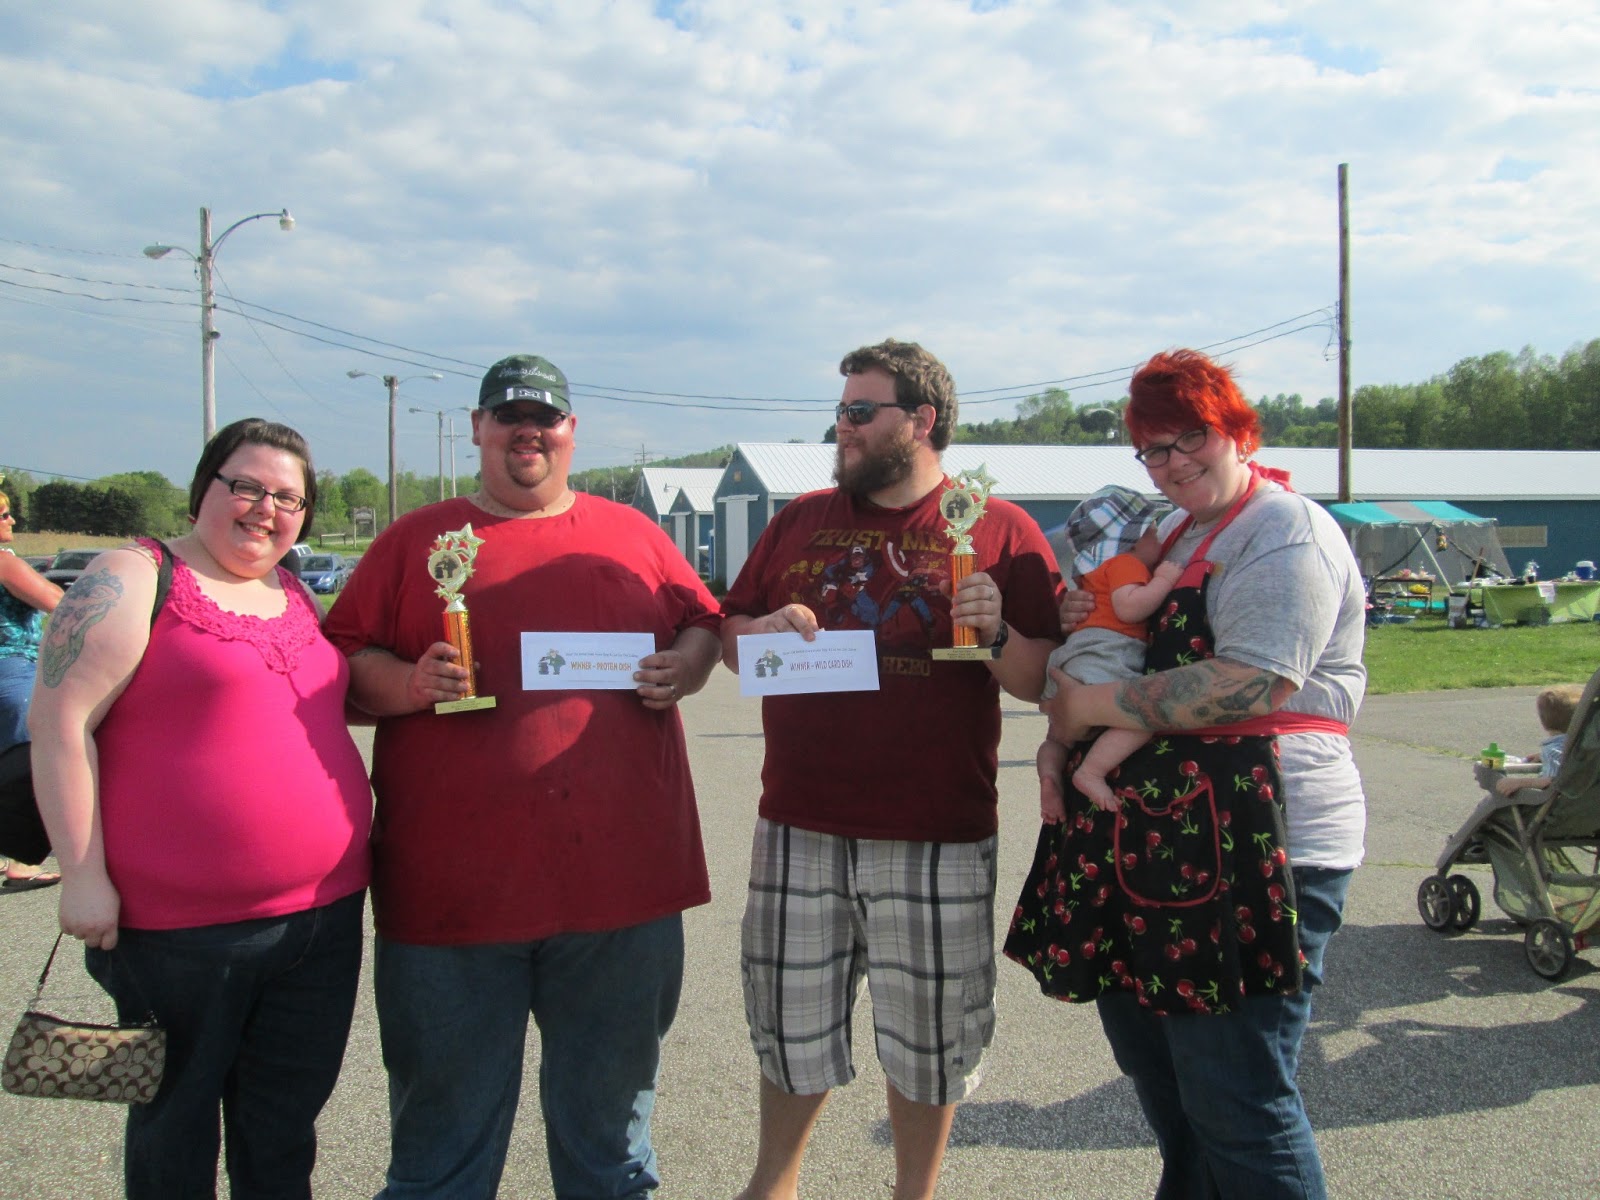
According to the score cards, the judges seemed to be pretty happy with all of our food. We won the Protein Category and the Wild Card Category. The Spam Doughnuts were a HUGE hit and we scored 99 out of 100 points! That was the highest scoring dish of the whole event. We ended up tied for first place! So what do you do when there is a tie? A sudden death cookoff round! We were given 2 more mystery ingredients. The only things they had left were... Jalapeno Pretzels and Beef Sticks. We agreed on 30 minutes and it would be a blind tasting. So we thought about it and finally came up with Spam & Beef Stick Croquettes. We removed the casings from the beef sticks, and processed them with the Spam to make a sort of Pate. We processed the Jalapeno Pretzels and added garlic powder, onion powder, and a few other spices. We formed the meat mixture into patties, dipped them in egg and coated them with the pretzel crumbs. We fried them in the cast iron skillet and drained them on paper towels. We still had a few minutes so we fire roasted a yellow pepper, seeded and pureed it with olive oil, salt, pepper, and cream. So the dish became a Spam and Beef Stick Croquette with a Fire Roasted Pepper Cream Sauce! It actually tasted good and turned out pretty well!

Forming the patties

Adding the Pepper Cream Sauce

Ready for the Judges
We were done and just waiting for the judges to come and get our food. The other team needed more time to get there dish done, so we had to wait for them but it all turned out pretty well. The whole event went well and we had SO much fun. We are really looking forward to participating next year! It was probably the most I've ever been challenged in the kitchen.

The team and our winnings.

Showing off the trophies!

Karen and all the people who helped and donated deserve a round of applause. They really did a fantastic job and I know they had a lot of work and time in this event. It supported Kanzius Cancer Research. Next year, I hope everyone can attend and come out to support them. If you want to visit Duran's Store now click here. If you want to check out their Facebook page, click here.

Saturday, May 18, 2013

Cast Iron Chef Challenge

Today we will be at the Waterford Community Fairgrounds for Duran's Down Home Days. We will be competing in the Cast Iron Chef Challenge where we have to make dishes to be judged. They can only be made over coals or fire and in cast iron cookware. There is a fan favorite category, so come out and vote for our food! If you can't make it today, it will also be tomorrow! Hope to see you there! Pictures will be posted for sure!

Wednesday, May 15, 2013

Farm-to-Table


Did you know that the average piece of fruit or vegetable travels around 1500 miles before it hits the shelves of your grocery store? They are harvested before they are ripe. Then packed away to ship to your grocer. Tomatoes are usually shipped green or just starting to ripen. This allows two things to happen. The first is so that when it arrives at the store and they put it on the shelf, it is just about ripe so can take it home and enjoy it. The second is so that they can ship it without damage. Imagine what would happen if you had a huge crate of tomatoes fully ripe. The ones on the bottom would be squished to smithereens. You are also robbing yourself of important nutrients. Nutrients, vitamins, mineral... All of them aren't fully developed and are lacking. Flavor is also usually compromised. Picking them before they are ripe doesn't allow them to fully develop flavor. This is why your backyard garden vegetables have so much more flavor than store bought. 

The “Farm-to-Table” Movement has been going on for some time now. The idea of growing your own vegetables and fruits has been around since the settlers starting farming. Nowadays, Chefs are buying local produce and meat, and using them to make delicious and nutritious dishes. 

By purchasing produce from local farmers and farmer's markets, you are supporting the local farmers and putting money back into the local economy. While stimulating the local economy and keeping our local farmer’s in business, we will rely less on big box stores. We can eat more flavorful and nutritious food.

You can also save money by growing your own. There are lots of vegetables that you can grow in your garden. If you don't have room one, grow a couple of your favorite veggies in containers on a porch or patio.

So plant a seed and grow your dinner!

Some local places to buy fruits and veggies...

Duran's Farms
http://www.duransfarmfreshproducts.com/
https://www.facebook.com/pages/Durans-Farm-Fresh-Products

Finnell Farms
https://www.facebook.com/finnell.farms?fref=ts

Mason Farms
http://www.masonfarms.net/
https://www.facebook.com/masonfarms?fref=ts

Frank's Farm Market and Bakery
http://franksfarmmarketandbakery.com/Home_Page.html
https://www.facebook.com/FranksFarmMarketAndBakery?fref=ts

I know there are more places but these are just a few all over the area.

Saturday, May 4, 2013

Quick, Easy, and Fantastic Sauteed Okra

With the growing season coming up, it's time to think about what kind of vegetables and fruits you should plant in your garden. There is a gem that most people overlook. The plant produces very pretty flowers and then turns them into a tasty vegetable. Most people say "ewwww" to Okra. But just like my Brussels Sprouts recipe, I will change your mind. Fresh Okra from the garden is very tasty and if you cook it right, not slimy. My very picky teacher was not so excited when I asked him if he liked Okra. I asked him to try mine and he was reluctant but decided to follow his own advice and try it. He always said, "I'm not asking you to eat it, just taste it." He was impressed and said that it was actually pretty good! To me, that was a compliment and success! Here is my easy and quick Sauteed Okra recipe.

Sauteed Okra 
Serves 4
Prep Time: 5 min
Cook Time: 5 min
Total Time: 10 min

Ingredients:
  • 10-12 Fresh Okra 
  • 1 Tbls Butter
  • 1/2 tsp. Swine Dining's Sparlicon Seasoning
Directions:
  1. Clean Okra and cut into 1/4" slices. 
  2. In a medium fry pan, melt butter over medium high heat.
  3. Add Okra and season with Sparlicon. More or less according to taste.
  4. Saute until lightly golden or "slime" disappears.
  5. Serve
The interesting thing about Okra is that the edible pod that is formed on the plant starts out as a flower. It blooms for a day or so, then closes up and forms the pod you eat. The flower is actually really pretty. Below is a couple pictures of the flower.

Okra Flower

Okra Flower


Okra Pod
Sliced Okra
Melt butter
Sauteing in butter
Caramelized with little to no "slime
It has a great taste and many people like it. I like to find ways to cook vegetable that most people will turn their nose up at. My philosophy is, if you don't like something, try it again a different way. Sometimes one bad experience will ruin it for someone. Just keep an open mind and be willing to try new things! As always, leave a comment if you like it! Or if you don't!

Wednesday, April 24, 2013

Kale Chips

So you're sitting at home watching TV and you suddenly have a craving for potato chips. But you know that tomorrow, you will regret eating them. Instead of starchy, greasy potatoes, try making Kale Chips. They are tasty, healthy, and super easy to make.

Basic Kale Chips
Prep Time: 5 min
Cook Time: 8-10 min
Total Time: 13-15 min

Serves 4 (1 C each)

Ingredients:
  • 1 Bunch of Fresh Kale
  • 2 Tbls. Olive Oil
  • 1/4 tsp. Course Sea Salt
Directions:
  1. Preheat oven to 350 degrees.
  2. Wash and thoroughly dry Kale.
  3. Tear Kale in small to medium piece away from stem.
  4. In a large mixing bowl, toss pieces of Kale with olive oil so that it is minimally dressed. Sprinkle with salt and toss again.
  5. Cover a sheet pan with parchment paper and lay Kale pieces in single layer on top. 
  6. Bake for 8-10 min, or until Kale is crispy but not charred.
  7. Remove from oven, let cool for 1 minute, then devour!
Notes: Be sure to watch them as they will go from perfect to overdone in a matter of just one minute. You can add any seasoning you'd like. Parmesan cheese goes well with them. Once Kale is dark green and crisp to touch, it is done. Army green is overdone and can get a little bitter. 

Nutritional Facts:
  • Calories - 127
  • Fat - 8g
  • Carbs - 13g
  • Sodium - 198mg
  • Fiber - 3g
  • Protein - 4g
  • Cholesterol - 0
  • Sugar - 0

Be sure to dry the Kale and remove the tough stems.
Tear into bite size pieces.
Lightly dress with olive oil and sprinkle with salt.
Place on parchment paper lined cookie sheet in a single layer.
Kale should be nice and dark green and crisp to the touch.
Throw into a bowl and enjoy!

Easter Egg Coloring Update

So as you know, I posted about coloring Easter Eggs on my last post. Unfortunately, I did not have time to try the Natural Dye's this year but I thought that I would share on the eggs I received from my father. I explained how he took his time on coloring his eggs and he comes up with some really spectacular looking eggs. Here are 2 of the eggs he brought us for Easter.

My Chef Hawleywood Egg!
He has very fancy handwriting!
Fancy designs.
His interpretation of a "Stained Glass" egg.
Side of "Stained Glass" egg.
Every year, the last eggs to get used usually end up being my dad's. Nobody wants to ruin his creations. Unless of course they have our names on them. In that case, we use them first for our traditional "Easter Soup". I just thought I'd share my dad's eggs and show you what he does every year.